
A bouquet holder is typically used to hold the wedding bouquet during the ceremony. It also serves as a way for guests to admire how lovely your flowers are.
Making your wedding bouquet is a great way to keep costs down and be a creative project for you and your wedding party. There are various ways to make the flowers for your wedding bouquet – you can dry or arrange fresh flowers, buy silk flowers or even use faux flowers if they suit your ‘look.’
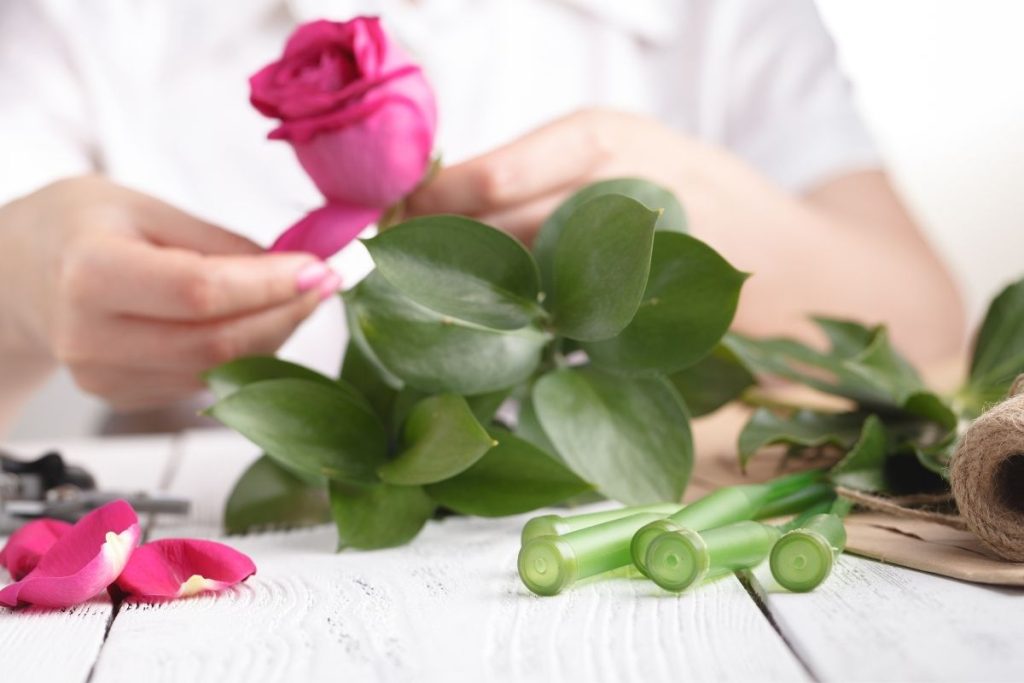
If you decide on using real flowers, how do you display them will influence them. A classic approach is to wrap the stems in floristry tape, so you don’t have to twist each stem as you wire them together. You might consider adding moss or ribbon around this base of wrapped stems before securing the base with the florist’s pins (the pins should go into the foam/ moss/ ribbon base of your bouquet holder).
If you are making a traditionally shaped bouquet using flowers with long stems, then how you display them will also influence how easy it is to work with the flowers.
Florists often place the longer stemmed flowers into their foam before placing this on top of a wrapped stem base; how far down into the foam this base is placed depends on how securely the individual flowers are secured. If you are making an unusual-shaped wedding bouquet or if you feel more comfortable working directly with the flower stems, then how you display them won’t be as much of an issue.
When selecting your flower selection think about how big your finished bouquet will be – there’s nothing worse than being disappointed after all that hard work; for ideas of how different big flowers can be, check out how to make a wedding bouquet with no leaves.
Before you start your how-to to make a wedding bouquet, you will need to gather your materials – how much you’ll depend on how large or elaborate your finished bouquet will be. You will need stems for all the flowers plus some extra florists foam for arranging the flowers, floristry tape, scissors, florist’s pins, wire cutters, and possibly moss.
Steps on how to make a wedding bouquet with a bouquet holder
1- Prepare your materials
Get two pieces of sturdy material that will not easily fray and rip apart. These could be construction paper or poster board since they tend not to tear when cut with scissors, but many other choices depend on what you have access to at home or how much time you want to spend preparing these materials. For construction paper, use pre-cut squares of equal size that are about 2″ x 2″. You can also use index cards, though they may be a bit flimsy if you want the bouquet holder to hold much weight.
Cut out one large hole and two small holes for how much space your flowers take up once arranged properly. For construction paper, you will cut one 2″ x 4″ piece for this purpose; make the center section 2″ wide by 4″ long and make the two side sections 1″ wide by 3″ long. Should cut cardboard in about the same dimensions as construction paper.
2- Attach however many ribbons or vines that will fit
Once done cutting however many material pieces you want to use to your bouquet holder to your satisfaction, start however you think will look best. These options include how many ribbons or vines to use and how to attach them. If you chose to use two ribbon pieces but only attached the ribbons at the very top of the bouquet holder, this would mean that your flowers are rather heavy; choose how much weight your bouquet holder can hold before tearing apart.
Could use other materials to tie together parts of bouquet holder such as yarn or twine that would probably work better than what I’ve mentioned above; it all depends on what you have at home and how much time you spend preparing these supplies.
3- Inserting your flowers
Once however many materials you chose have been, however, you’ve decided to attach it, how the flowers inside your bouquet holder. Depending on how many flowers each flower is, this step will take up different amounts of time. If how long it took me to arrange my flowers indicated how much time this step takes, I would say that arranging about ten roses takes around fifteen minutes.
The best way to keep your flowers in place while they are being arranged is by putting them into the hole created at the bottom of the bouquet holder sideways so that only a few petals poke out. That way, when you’re arranging your flowers with vines or ribbons (which I’ll talk about in a second), the flowers won’t be moving around too much on however many loops or vines you attach to them.
4- Attaching however many loops or vines that will fit
The final step is, however many loops, vines, ribbons, etc., you choose to use to show how many flowers are sticking out of the bouquet holder’s bottom. If there is only one flower you’re placing into the bouquet holder, then there isn’t a point in using any material because one flower can sit inside the hole. But if there is more than one flower, I suggest tying however many small pieces together at once, so your flowers aren’t being moved around however tight the knots are.
To make a wedding bouquet with a bouquet holder, you’ll need to start cutting the stems from flowers. One can use any flower for this project, and it’s best if they are in full bloom so that the petals will be nice and fresh when you cut them off. The next step is to remove all of the leaves from each stem which should leave just about three inches of bare stem on your flowers.
Next, take your floral wire or ribbon and tie it around one end of your bouquet holder, then thread some through the other side as well before trying it securely into place at both ends. Finally, insert another piece of straw tightly into either side using an old needle to poke holes if needed until it holds.